
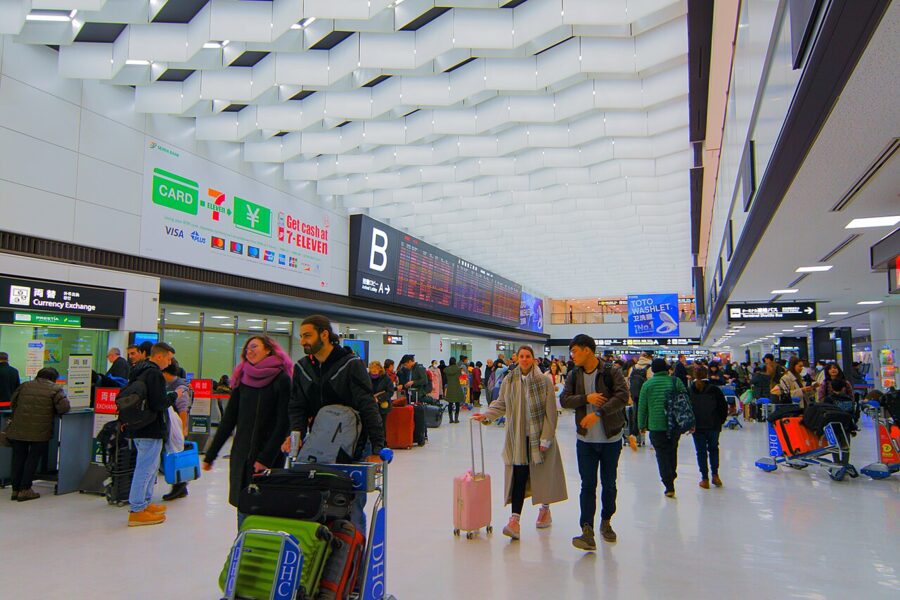
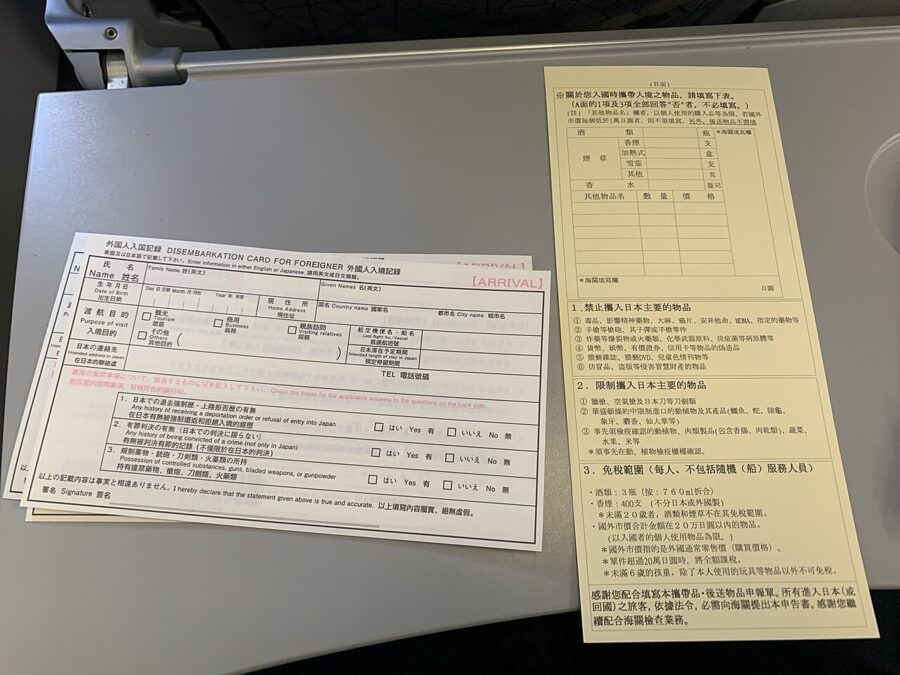
Japan asks every foreign visitor for two pieces of paper on arrival, and Visit Japan Web turns both into one QR code you can build at home. It is free and optional, and at seven main airports it lets you leave customs through a face-scanning gate instead of handing a form to an officer.
The catch is timing. The account, passport scan and trip can only be registered online, so the work belongs on the sofa the week before you fly, not in the immigration hall. Screens, rules and allowances below are as of November 2026, at about ¥150 to the dollar.
My advice for almost everyone: set it up. Skip it if you will not carry a smartphone or tablet, because the code has to be shown on a screen. Paper forms are still handed out on the plane, and they still work.

On this page
- What Visit Japan Web replaces, and who should use it
- Before you start: what you need
- Setting it up, step by step
- At the airport: where the code gets scanned
- The customs declaration: what to declare and the duty-free allowances
- Common mistakes and the questions people ask
- What is changing: tax refunds from November 2026, and JESTA
- From the airport into the city
What Visit Japan Web replaces, and who should use it
Foreign visitors landing in Japan fill in a Disembarkation Card for Foreigner for immigration, and every passenger owes Japan Customs a Declaration of Accompanied Articles and Unaccompanied Articles, the formal name for the customs form. Visit Japan Web is the Digital Agency’s website for doing both in advance, and since January 25, 2024 it produces a single QR code that carries both declarations.
It is not an app store download but a website, www.vjw.digital.go.jp, that you can add to your phone’s home screen so it works without a signal. It is not a visa either: it asks whether you have one and, if you say no, opens a page where you can check whether you need one.
It costs nothing. In June 2025 the Digital Agency warned about a site charging visitors an “application fee” for Visit Japan Web, and repeated that it never asks users to pay. Type the address yourself.
Japan Customs recommends the electronic declaration; it does not require it. Paper customs forms are available on the aircraft and at the customs hall, and the English version (form C-5360-B) can be printed on A4 before you leave. I would still use Visit Japan Web if you are landing at Narita, Haneda, Kansai, Chubu, Fukuoka, New Chitose or Naha, because those are the airports where it buys you the gate.
Before you start: what you need
- An email address you can open on the spot. It becomes your login and receives a confirmation code.
- Your passport. For the customs e-gates it must be an IC passport, the kind with a chip.
- Your flight: airline, flight number and the city you fly from.
- The address and phone number of your first night’s stay, with its postal code, from your booking confirmation.
- The phone you will carry off the plane. You can register on a laptop, but the Digital Agency says the code must be shown on a smartphone or tablet.
There is no official deadline, and the arrival date can be set as far ahead as December 31 of the following year. I do the account and passport a week out, and check the declaration again the night before, once the hotel and flight are final.
Setting it up, step by step
Switch the site to English from the language menu if it opens in Japanese. Button names below are in quotes.
Step 1: create the account
Tap “Create an account”, tick both consent boxes, then enter your email and a password, which needs at least 10 characters with an uppercase letter, a lowercase letter, a number and a symbol, so a phrase like “Kyoto2027+” passes and “kyoto2027” fails. A verification check follows, and the site explains how to choose an email-based check if you would rather not solve picture puzzles.
Keep the next screen open while you fetch the emailed confirmation code: close it, and the code dies. If nothing arrives, check spam and make sure mail from @vjw.digital.go.jp is not blocked. Multi-factor login through an authenticator app is offered at first login and is optional.
Step 2: your details and the passport scan
From the home screen, open “Your Details”. Two questions come first: whether you hold a Japanese passport, and whether you live in Japan and are re-entering on a re-entry permit. For a visitor, both answers are “No”.
Then choose “Scan with camera” and line the photo page up inside the white frame; the site reads the machine-readable lines and fills in your name, number, nationality, birth date and expiry. If glare defeats it, tilt the passport or type the details in.
Check every field the scanner filled. Then add your occupation and your home country and city. If your passport has less than six months left, the site shows a warning. It does not stop you registering, but it is worth checking your airline’s own passport rules before you fly rather than at the check-in desk.
Step 3: register the trip
Back on the home screen, tap “Register new planned entry/return”. Give the trip a name if you like (left blank, it becomes the arrival date), then the arrival date, the airline from the drop-down list, the flight number and the city you fly from. On a codeshare, enter the operating carrier’s flight number; if you connect, enter the flight that lands in Japan.
Next comes the address. Type the seven-digit postal code without the hyphen and tap the auto-fill button; prefecture, city and street fill themselves when the code is known. Add the hotel name and its phone number, digits only. If your first night is in a ryokan, its confirmation email will have both.
Step 4: the immigration and customs questions
Open the trip and tap “Immigration clearance and Customs declaration”. The first screens arrive pre-filled from your details and the trip. Then the immigration part asks your purpose of visit and the length of stay in years, months and days, followed by the yes-or-no questions from the paper card about past deportations, convictions and what you are carrying.
Customs comes next as five screens of yes-or-no questions, the same ones printed on the paper form, then a count of alcohol bottles, cigarettes, heated tobacco, cigars and perfume. A final screen lists anything else you bought abroad or are bringing as a gift.
Tick “The above entry is true and correct” and tap “Register”. The trip page now shows a “Display QR Code” button.
Step 5: the health questions
The trip page also has a short “Quarantine (Confirmation of Health Condition)” section. You answer whether you have symptoms, and the site shows what to do if you do. There is no certificate to upload and no test to book; that part of the service ended in 2023.
Adding family members
One account can carry up to 10 family members traveling with you, and the rule for who counts is practical: people going through immigration at the same time as you. Add each person under “Details of family members traveling with you” with their own passport scan, then tick them when you register the trip.
Each person still gets processed one at a time. Every family member needs their own immigration answers, and on the QR screen you switch between people with a drop-down menu. When you reach customs, the site offers to fill your family’s declaration from yours; that is a time-saver, but it overwrites anything you had already entered for them, so use it before you type their details, not after.
Making it work without a signal
On an iPhone in Safari, open the login page, tap the share icon and choose “Add to Home Screen”; on Android in Chrome, use the menu’s “Add to Home screen”. Then log in once while online and open your trip.
After that, the installed version can show your QR code and even edit the declaration with no connection. It cannot create an account, register your details, add a new trip or change which family members are on it. If you edit offline on two phones, the changes do not sync until both go back online, so pick one phone to be the family’s master copy.

At the airport: where the code gets scanned
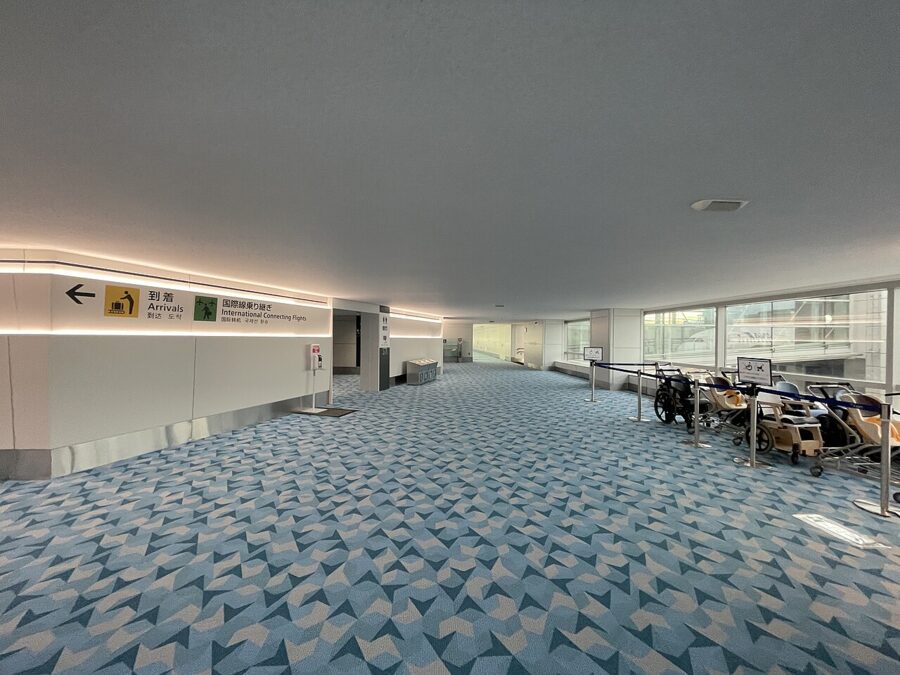
The Digital Agency’s guide says the code works at the immigration counter and, for customs, either at an electronic declaration terminal or at the inspection desk.
Immigration: counters and integrated kiosks
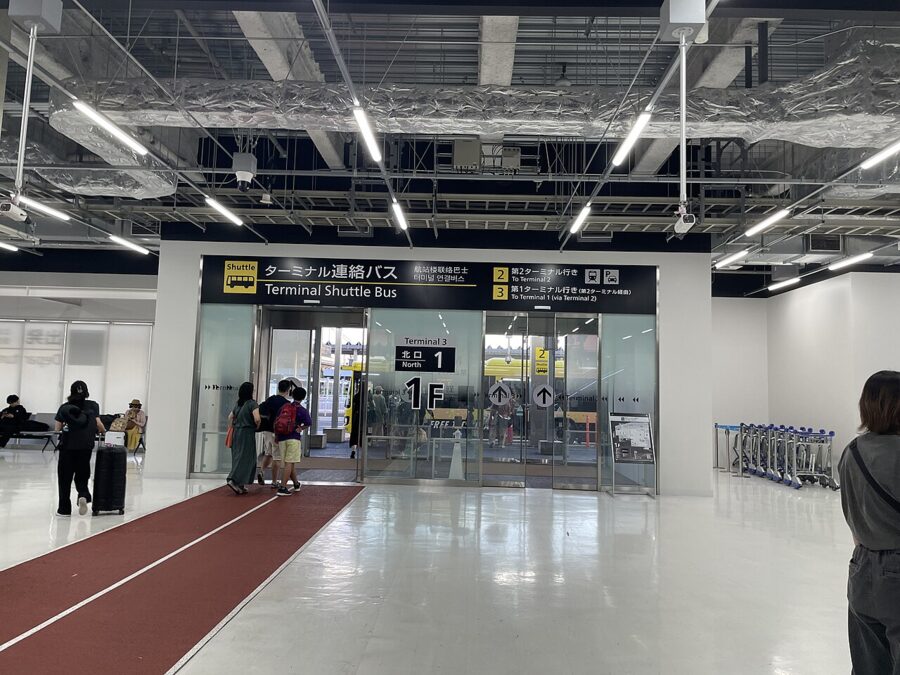
At a staffed booth you show the QR code with your passport, the officer scans it, and you give fingerprints and a photo as usual. At four airports there is a faster lane: integrated kiosks, which take your passport, your QR code, your fingerprints and a face photo in one go, sending immigration and customs everything at once. Kiosk users then go to a dedicated booth to finish immigration.
| Airport and terminal | Integrated kiosks since | Hours (flow-area kiosks) |
|---|---|---|
| Haneda Terminal 3 | April 16, 2025 | 24 hours |
| Haneda Terminal 2 | April 1, 2025 | 04:30 to 23:30 |
| Narita Terminal 3 | April 7, 2025 | 07:00 to 21:30 |
| Kansai Terminal 1 | April 1, 2025 | 08:00 to 22:00 |
| Kansai Terminal 2 | April 1, 2025 | 09:00 to 21:00 |
| Fukuoka | December 1, 2025 (flow area from April 1, 2026) | 07:00 to 21:00 |
Hours are Japan Customs’ figures as of November 2026. Children under 135 cm cannot use the kiosks, so a family with young children goes to a staffed booth together. Masks, hats and sunglasses come off for the face photo.


Customs: the electronic declaration gates
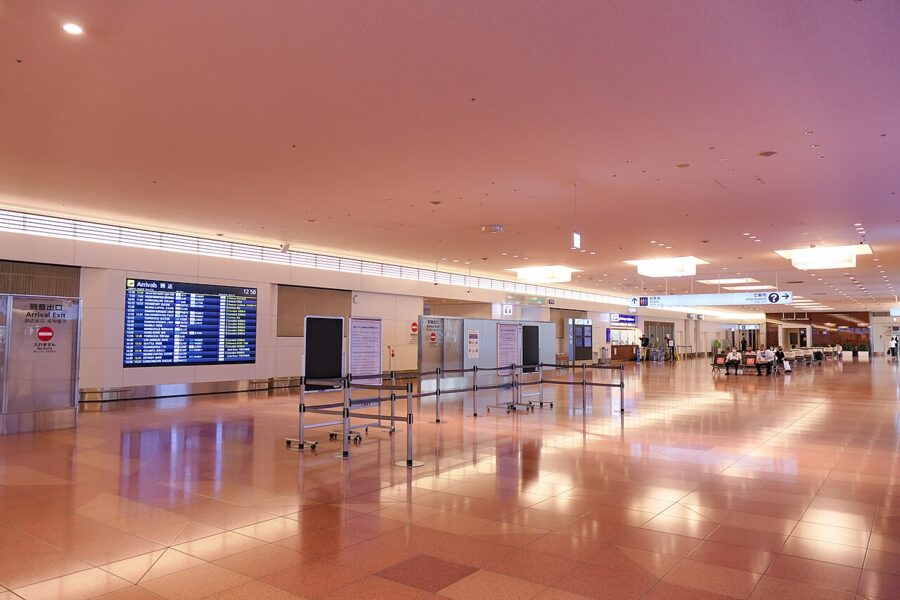
Japan Customs runs e-gates at seven airports: New Chitose, Narita, Haneda, Chubu Centrair, Kansai, Fukuoka and Naha. The declaration terminals stand near the baggage belts, so you can use them while waiting for your suitcase.
Hold the IC passport and the QR code over the terminal’s scanner and follow the screen. It photographs your face, matches it to the chip in your passport, and tells you whether to go to the e-gate or to a customs desk. At the gate, a second camera checks your face again and the doors open; Japan Customs says the photos are deleted as soon as you pass.

A few rules from the customs side. Everyone, children included, goes through the terminal one person at a time, though a child under 100 cm tall can walk through the gate with a parent. You can take a baggage cart or a wheelchair through. The terminal may still send you to a desk, and will if you are over the duty-free allowance or shipped bags separately.
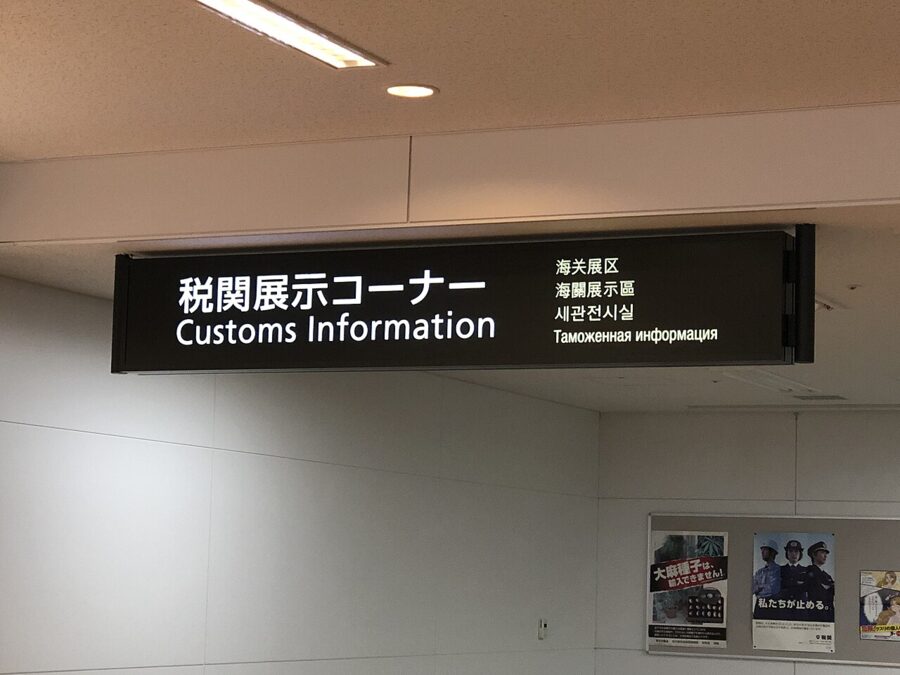

At any other airport, show the same code at the customs desk. There, I would also fill in the paper forms the cabin crew offer, in case the officer prefers them.
If the code will not show, or will not scan
- No signal, and you never installed it: step out of the queue, connect to the free airport Wi-Fi, log in and open the trip.
- Wrong name on the code: use the drop-down at the top of the QR screen to switch to the right traveler.
- Wrong details: before showing the code, tap “Confirm the contents of the declaration” and edit. Change the hotel in your profile and the declaration keeps the old one, because edits do not flow back into the declaration.
- Nothing works: ask for paper forms at the counter. The site also has a chatbot under the “?” icon for problems you can solve before you fly.

The customs declaration: what to declare and the duty-free allowances
The yes-or-no questions on the customs screens ask whether you are bringing prohibited or restricted goods, more than the duty-free allowance, commercial goods or samples, items you are carrying for someone else, more than ¥1 million (about $6,700) in cash or equivalent, and whether you have bags shipped separately. A “Yes” means an officer will look, not that you are in trouble.
| Item | Duty-free allowance per adult |
|---|---|
| Alcohol | 3 bottles of about 760 ml |
| Cigarettes | 200 |
| Cigars | 50 |
| Heated tobacco | 10 packs (for IQOS or glo, 200 sticks) |
| Other tobacco | 250 g |
| Perfume | 2 oz (about 56 ml) |
| Everything else | Overseas market value under ¥200,000 (about $1,330) in total; items under ¥10,000 (about $67) each are not counted |
Those are Japan Customs’ figures as of November 2026. Mix tobacco types and the total allowance is 250 g. The ¥200,000 figure does not stretch: a single item or set worth more than that gets no allowance at all.
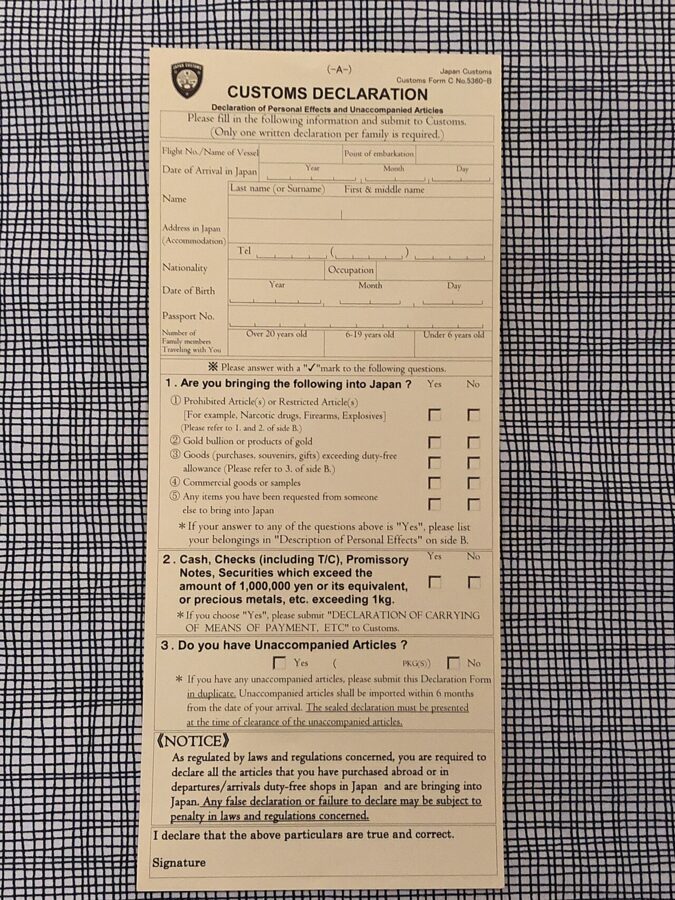

On the “other personal effects” screen you list up to eight items with a name, quantity, value and currency. Things bought for your own use worth ¥10,000 or less each do not need listing, so a new phone or an expensive camera does and a sweater usually does not.
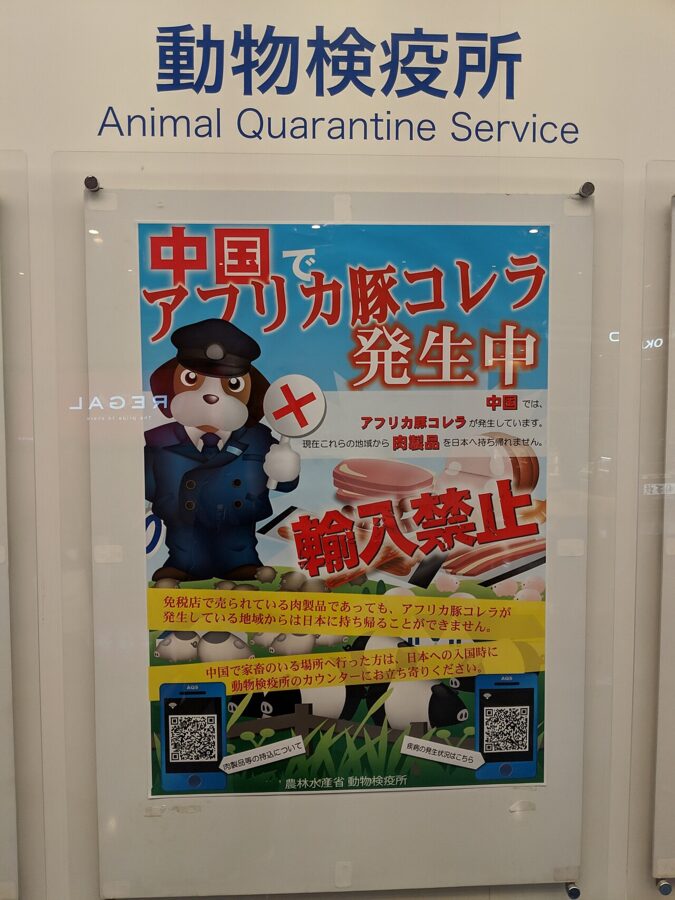
The traps for ordinary travelers are food and medicine. Meat products, jerky and sausages included, must go to animal quarantine before customs, and without the right export certificate they do not get in. Medicine is limited to about two months’ supply and cosmetics to 24 items, and stimulants are banned outright, which catches some cold and ADHD medicines sold over the counter or on prescription abroad. Gold is the odd one out: tick “Yes” for any amount.

Common mistakes and the questions people ask
Is Visit Japan Web required? No. It is recommended, and it is what opens the e-gates, but paper forms remain valid.
How early should I do it? Whenever the flight and the first night’s address are fixed, and never in the immigration queue.
Can I use a screenshot? The Digital Agency bans screenshots for the tax-free code and says nothing helpful about the arrival code. Use the installed offline version instead.
Where is the QR code? On the trip page, under “Display QR Code”, then “Agree and display the QR Code”. If the button is missing, the immigration and customs section has not been registered yet.
When will the queue be worst? When several long-haul flights land together, and during the cherry blossom, Golden Week and autumn peaks covered in the best time to visit Japan guide. The code does not skip the immigration line at a staffed booth, but at a kiosk airport it shortens the part that comes after.
What is changing: tax refunds from November 2026, and JESTA
Tax-free shopping is now a refund
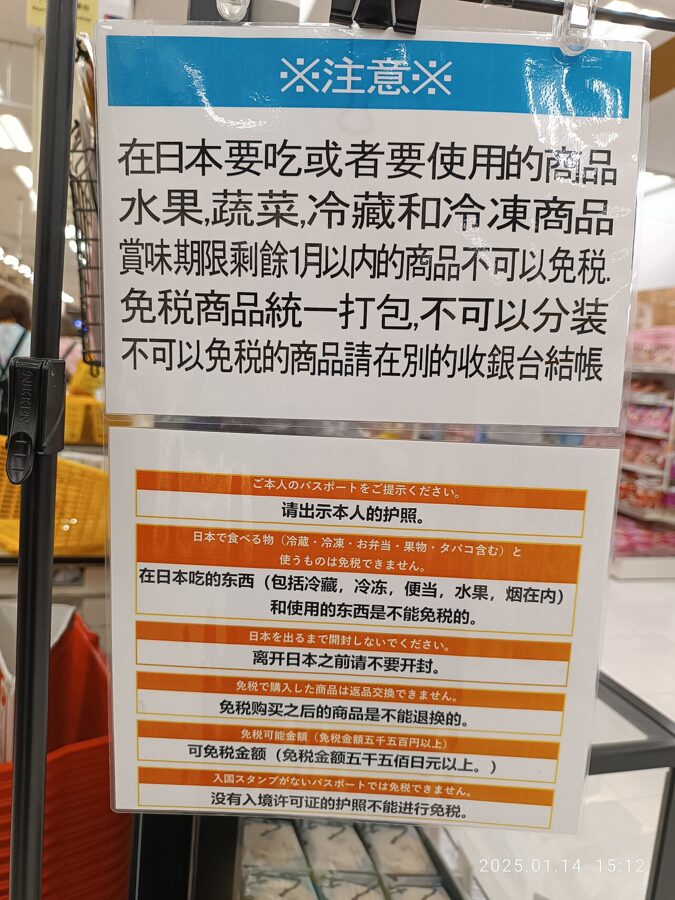
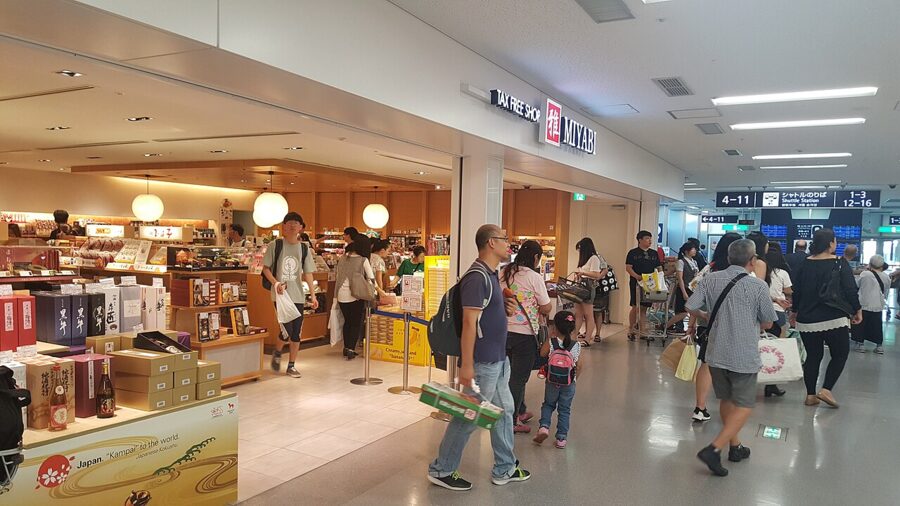
For purchases made on or after November 1, 2026, Japan no longer takes the consumption tax (10%, or 8% on food) off at the till. You pay the full, tax-inclusive price, and the shop refunds the tax after customs confirms at your departure airport that the goods are leaving Japan. The Japan Tourism Agency’s rules as of November 2026: at least ¥5,000 (about $33) before tax, spent on one day at one shop; no upper limit beyond what you can carry; and customs confirmation within 90 days of the purchase.
Visit Japan Web handles the paperwork. Under “Procedure for Tax-Free Shopping and Tax Refund” you scan the face photo in your passport and the QR code printed on the landing permission sticker immigration puts in your passport. That produces a tax-free QR code to show at shops that accept it, and the site is firm that screenshots of it do not work.
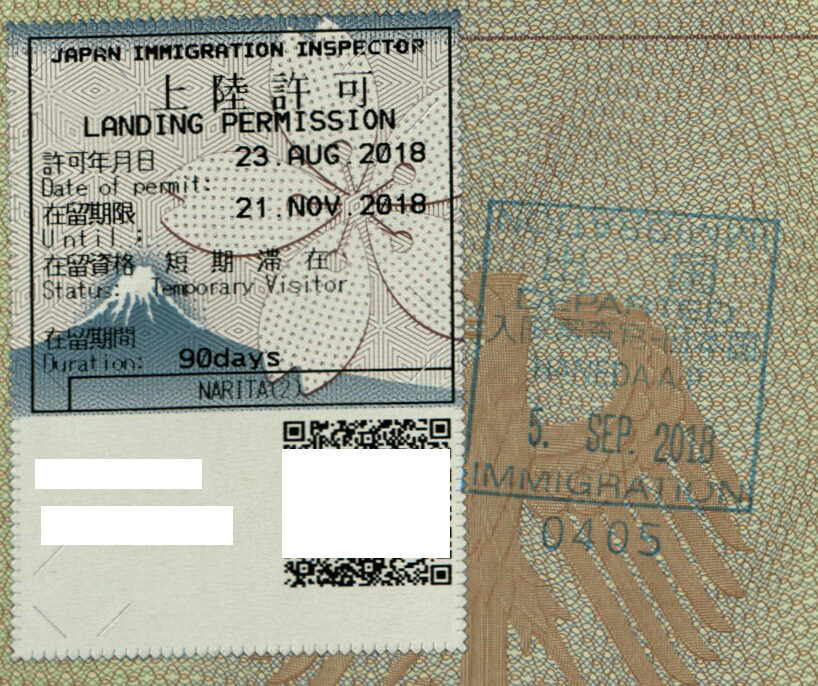
Only Temporary Visitor, Diplomat and Official status holders can use this. Students and workers living in Japan cannot, and Japanese nationals living abroad use a separate route. The status expires with your period of stay, after which the site shows “Not Registered” again.

The refund at the airport, step by step
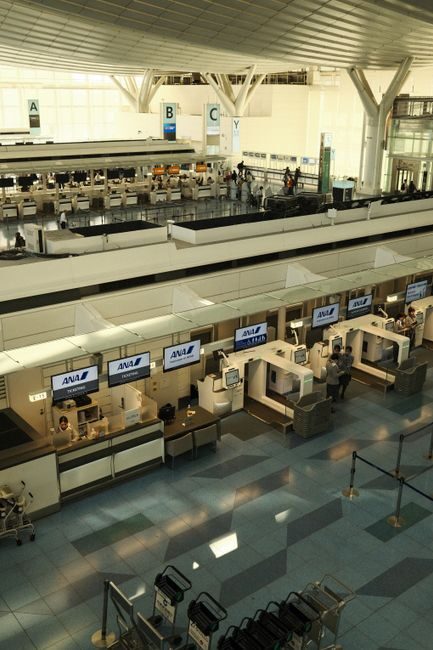
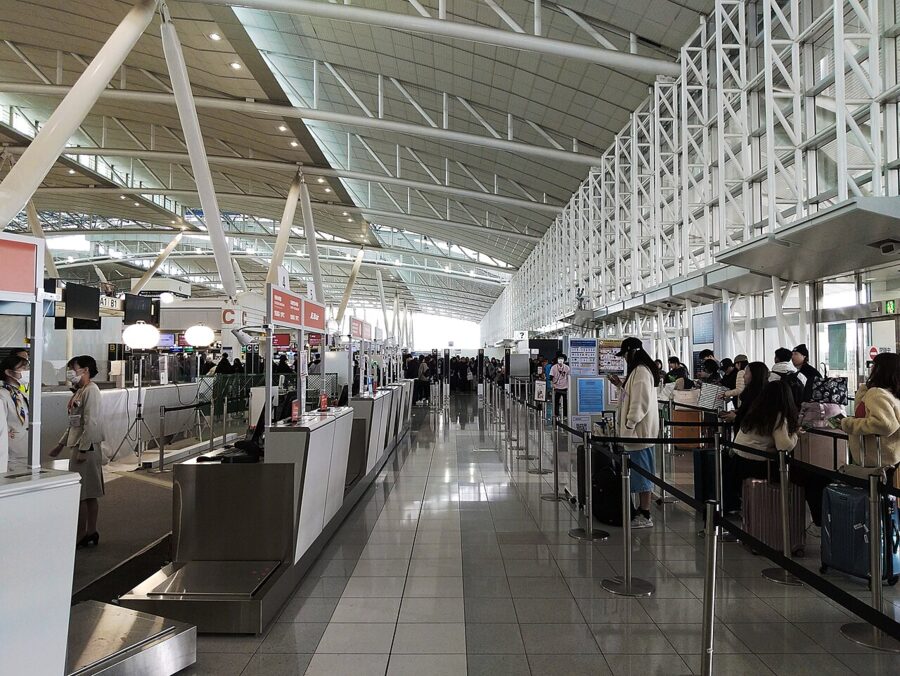
On departure day, customs confirmation has to happen before you check in a bag. At Narita, Haneda, Kansai, Chubu, Fukuoka, New Chitose and Naha you can do it on your phone in the departure lobby using the “Tax Refund procedure” button in Visit Japan Web and the airport’s dedicated Wi-Fi; everywhere else, and if the phone route fails, you scan your passport at a tax refund kiosk. A green result means you are done. A red one sends you to the customs inspection area in the departure lobby to show the goods.
Three rules decide whether you get the money. Every item from one receipt must be with you, so eating one box of a three-box sweets purchase sinks the whole transaction. Goods shipped home before confirmation get no refund. And if you fly domestically to your international departure airport, carry the tax-free goods in the cabin, because confirmation happens at the international airport.
The refund itself comes from the shop, not the government, through whatever method you set up at purchase. Allow extra time at the airport; the agencies warn that if inspection is cut short because you are late for check-in, confirmation is not complete and there is no refund.

JESTA: planned, with a deadline in law
Japan is adding a travel authorization for visa-exempt visitors, called JESTA (Japan Electronic System for Travel Authorization). The law creating it passed the Diet on May 29, 2026 and was promulgated on June 5, 2026. It takes effect on a date to be set by cabinet order no later than March 31, 2029, which is the end of the government’s fiscal year 2028.
Once it starts, visitors who now arrive without a visa for tourism and other short stays will need approval online before every trip, as will cruise passengers coming ashore and some transit passengers. Airlines will have to report passenger names in advance and refuse boarding to anyone the Immigration Services Agency flags. In return, approved travelers who meet the entry conditions can skip the landing sticker in their passport.
The fee is not set yet; the law leaves it to a later cabinet order. Nor has the government said how JESTA will connect to Visit Japan Web, or how the tax-free registration will work without a sticker to scan. The government’s target is fiscal 2028, so for a trip in 2027 nothing is expected to change.
From the airport into the city
The next decision is how to reach the hotel you typed into the address screen, and at Narita, about 60 km from central Tokyo, it is a real one.
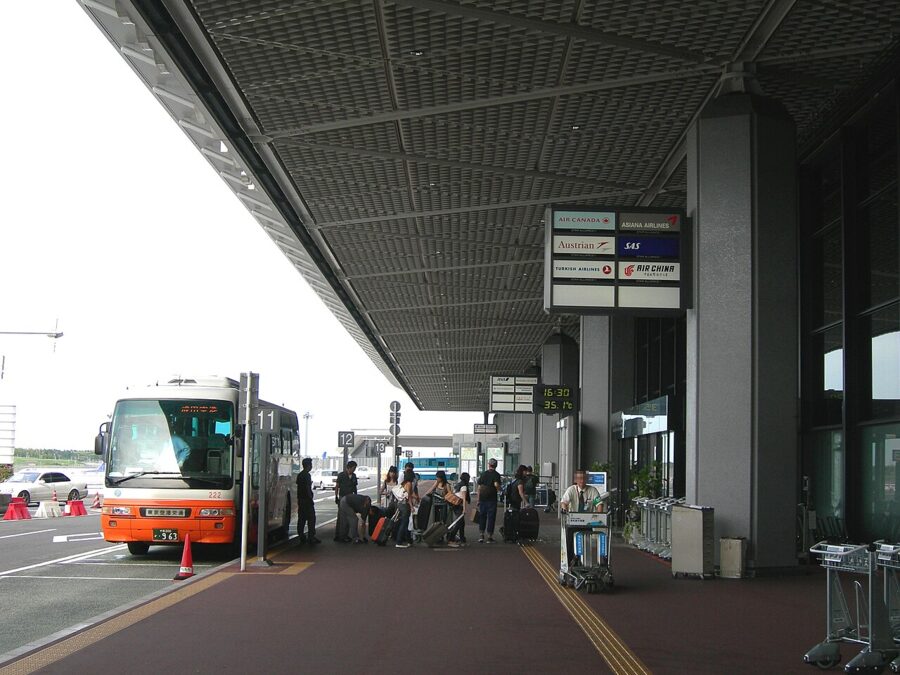

If your hotel is a stop on the Airport Limousine Bus network, I would take the bus with heavy luggage and the train with a backpack. From Narita, Keisei’s Skyliner reaches Keisei Ueno in as little as 41 minutes by the operator’s figures, which makes it the fast answer for Ueno, Asakusa and the north-east of the city.
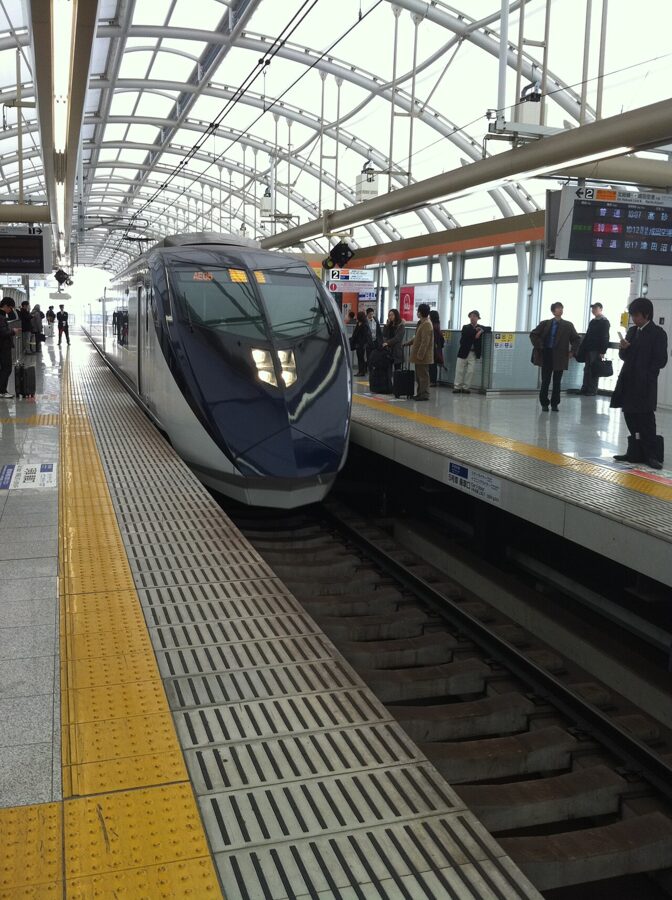

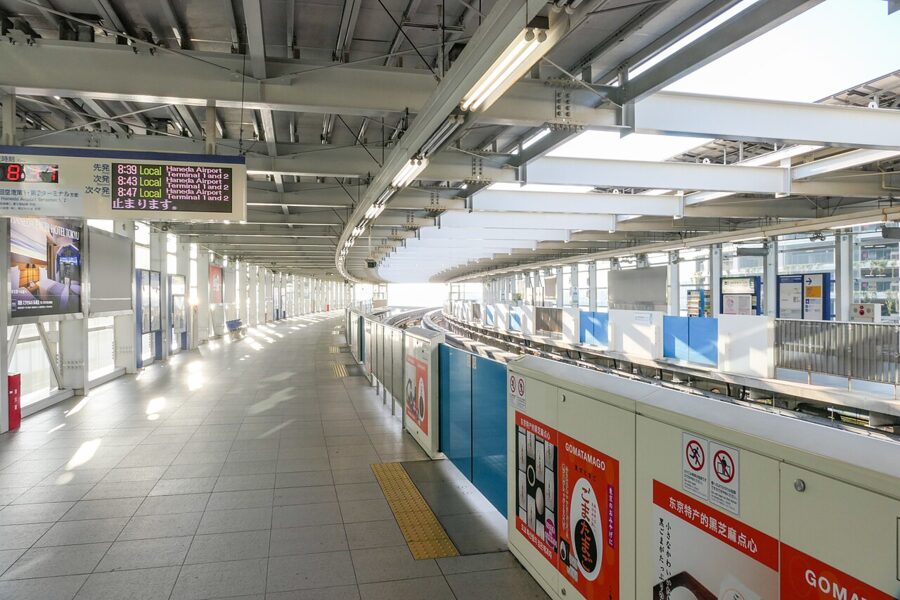
A Japan Rail Pass changes the Narita sums, because it covers JR’s Narita Express and not Keisei’s Skyliner. Haneda is close enough that the choice is easy: the Tokyo Monorail for Hamamatsucho, the Keikyu Line for Shinagawa, a taxi if you land after the trains stop.
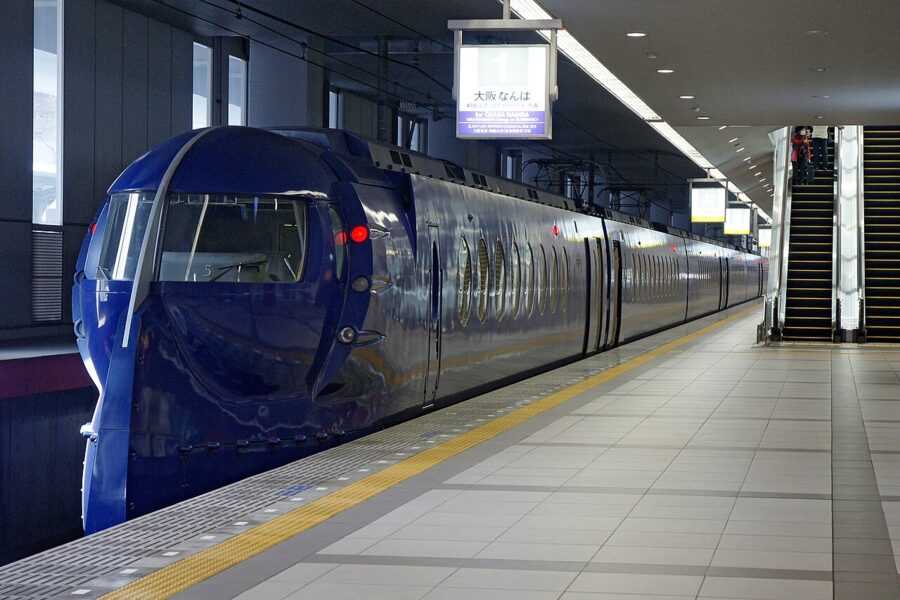
At Kansai, Nankai’s Rapi:t runs to Namba for Osaka’s south side, and JR’s Haruka runs to Tennoji, Shin-Osaka and Kyoto.

So the order of jobs is simple. A week out, create the account, scan the passport and register the trip; the night before, check the declaration and open it once on the phone you will carry. Then the only paperwork left on the plane is the in-flight menu.